I want to say this right off the bat- this is not a “how to” for creating a board and batten wall. There are TONS of amazing bloggers and DIYers out there that have nailed this and can help you if you’re not sure how to build one. Instead, this is a blog about 5 unique tips that you totally need to consider when building your board and batten wall. They very well could be the creative inspiration you need to take this DIY project to the next level!
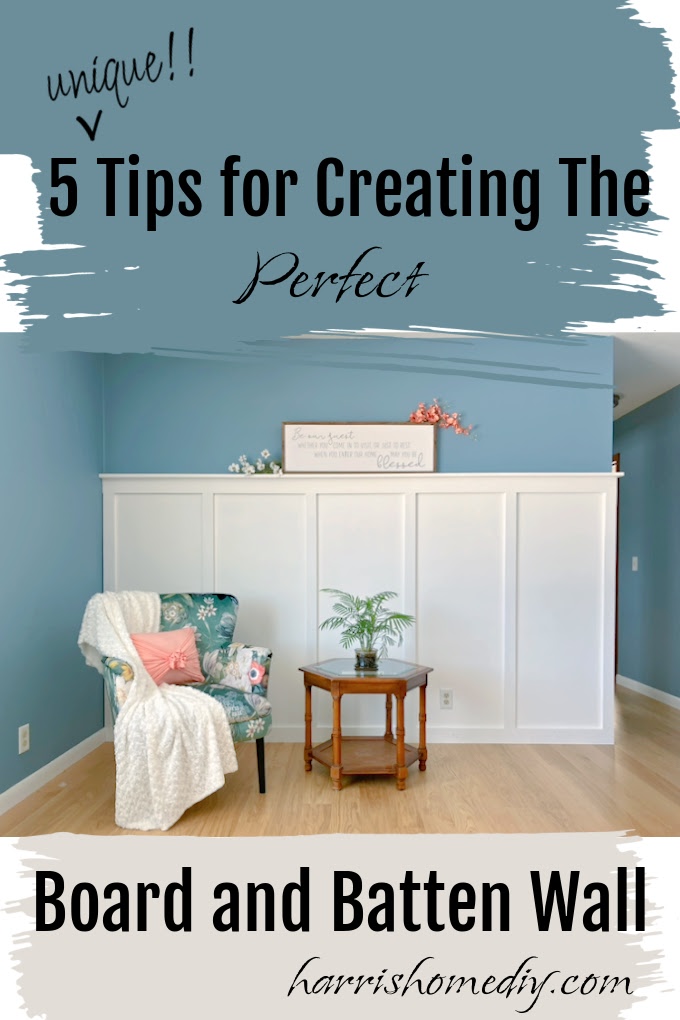
A quick look at what’s in this blog:
- What is a board and batten wall
- Tip One: Height
- Tip Two: Add a ledge
- Tip Three: Corner it!
- Tip Four: Board spacing
- Tip Five: An alternative to MDF
- BONUS TIP
1. What is a Board and Batten Wall, Anyways?
Turns out, board and batten walls have been around for a while. A quick google search informed me that they are thought to have originated in Sweden and Norway, and became popular in North America in the 19th century. Apparently, it used to be called “barn siding” because, well, it was used for barns as siding!
Board and batten has definitely made a big name for itself in modern home design. The structure consists of vertical boards spaced out even distances, with horizontal boards running the entire length both on top and bottom.
There are tons of variations in the design of this, but the typical board and batten starts at the floor and reaches about half way up the wall. Furthermore, it can cover a single wall, all the walls in a given room, or even be found continuously throughout an entire house.
We chose one large, empty wall in our living room to cover with board and batten. It gives it this “featured” feel and brings the entire room to life. It’s hands down one of my all-time favorite DIY projects. Read ahead to find out what tips we have to perfect your own board and batten wall project!
2. Tip One: Consider The Height
This is one tip that I don’t hear discussed often when it comes to building board and batten walls. The height. It sounds so simple, yet it’s one of the most important decisions you’ll make in this project. Because there’s no “standard” or “required” height for a board and batten, you’ll want to determine what makes the most sense given the wall space you are covering.
I’ve seen board and batten that sit very low to the ground, such as in bathrooms. This can be really appealing in certain rooms (for example, how the board and batten runs along the wall behind a toilet which sits low to the ground). The common height seems to be chest height- however, I want you to consider going to a picture wall height. This means the vertical boards extend up to approximately the height you would hang a picture on the wall.
Especially if you are covering a single wall in your dining room, living room, or bedroom, it looks stunning to bring your board and batten up to this “picture height” eye level. This gives it a “featured wall” feel and actually makes the room feel much bigger.
In a dining room, for example, you could decorate that feature wall with a centered buffet table. If you have a chest height board and batten, you aren’t going to see much of it behind your buffet table. The same goes for a living room- if you have the boards run higher, you can place a sofa or cute matching chairs and a coffee table in front of it without impeding on the visual effect of the board and batten.
In a bedroom, running the boards up higher can create a really beautiful “headboard” look behind your bed.
3. Tip Two: Add a Ledge
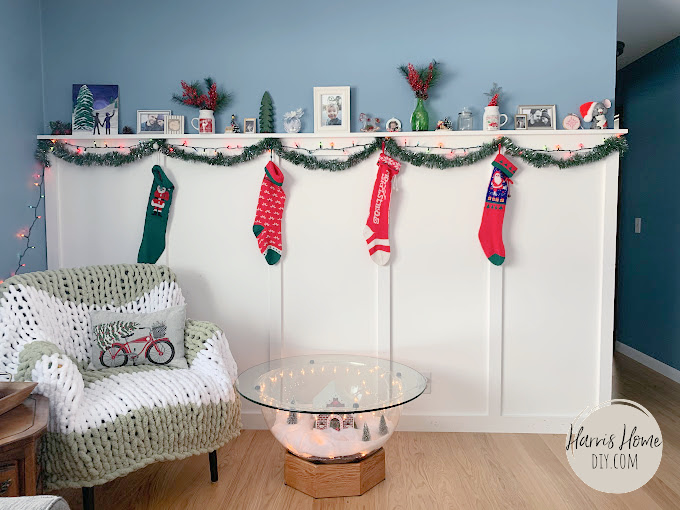
This tip works especially well if you go with the picture wall height as mentioned in the last section. You can easily add a ledge (to your preferred depth) to your board and batten. The possibilities here are endless but the idea is to decorate the ledge with a cute vase, a few family photos, or your favorite Hobby Lobby decor.
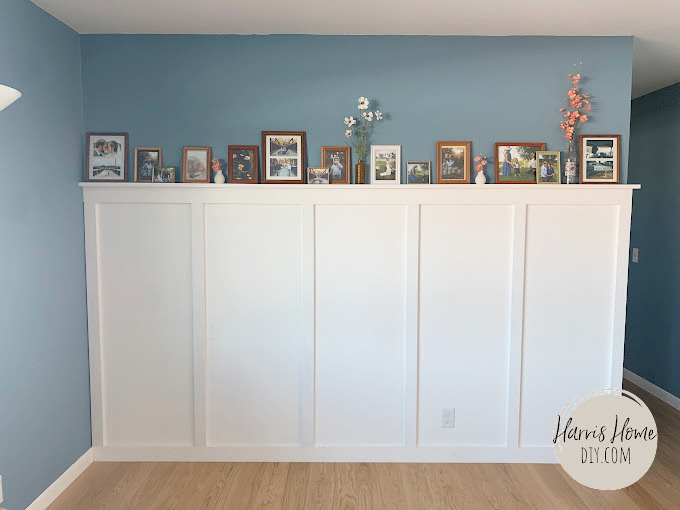
Every few months we redecorate our board and batten, typically keeping up with the seasons. This may be too much decor for your preference, but how fun is our Christmas board and batten set up??
4. Tip Three: Corner It!
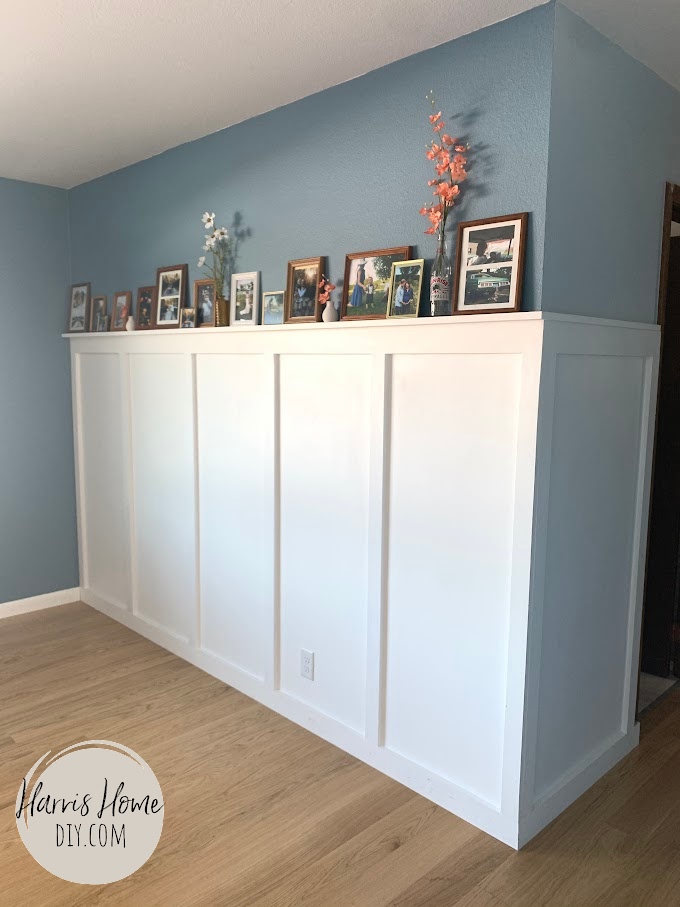
I owe all the credit of this idea to my incredible husband, whose creative talents are sometimes overshadowed by my Pinterest finds. Our original plan was to simply cover the one large wall in our living room and nothing more. Instead, we ended up wrapping the board and batten around the very small corner we have that cuts off at the bathroom door. This gives the board and batten more “movement” and looks quite honestly, perfect. It ties the hallway into the living room and feels seamless.
5. Tip Four: Board Spacing
The spacing of your board and batten is key to a neat, visually appealing end product. Some places may tell you to space it out x,y,z distance between each vertical board. This is my advice, if you haven’t been told this already: your spacing should be unique to the space in your house you are covering. Once you’ve decided on the wall, measure the complete distance you want to run your board and batten. Then, divide it into even sections and mark off the sections. In addition to your starting and ending board, the ones in between will sit centered at each of those marks.
I’ve seen board and battens where there is an uneven space at the last two boards. It doesn’t look well planned out or nearly as attractive as its evenly spaced counterpart.
Number of Boards
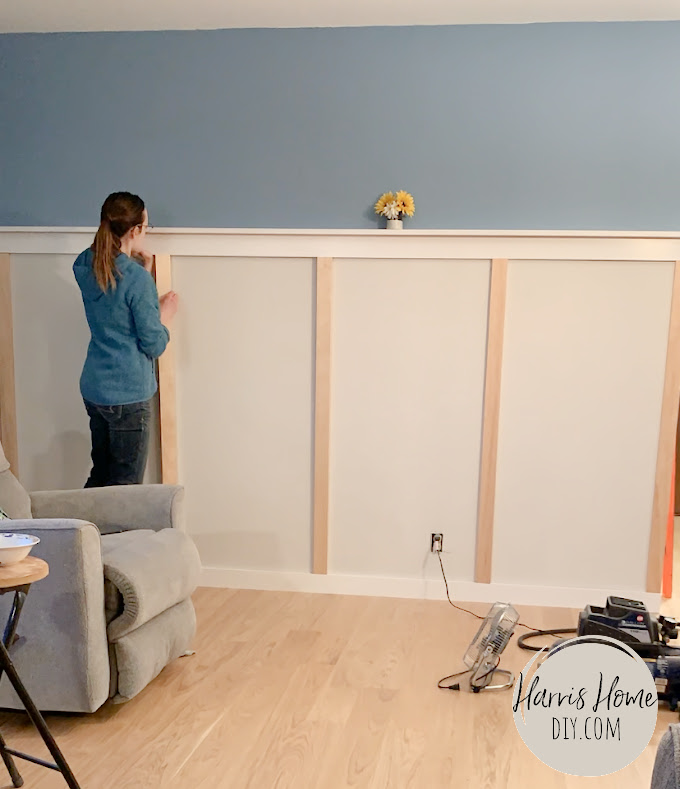
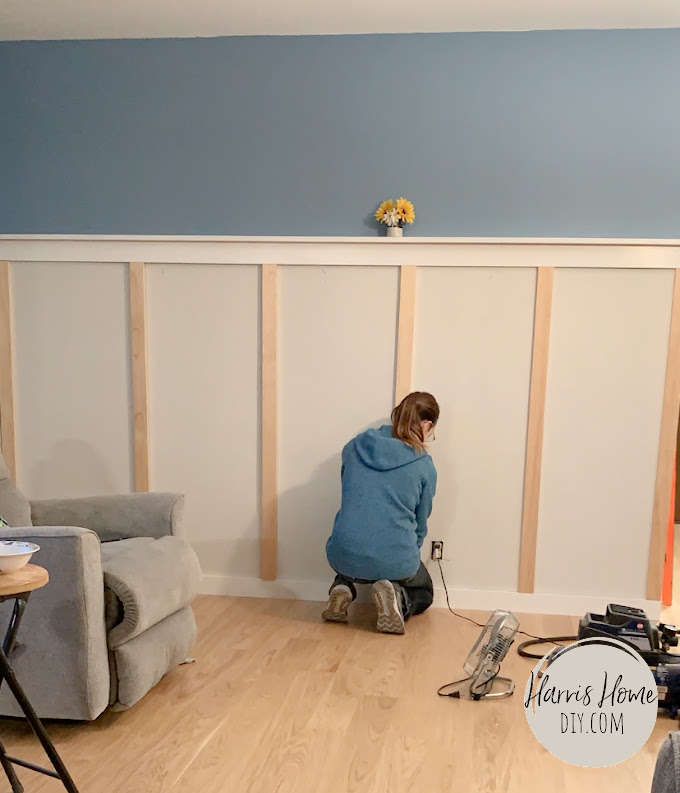
This is a “sub” suggestion to the even spacing… but don’t forget to consider how many vertical boards to use in your project. We figured out what looks best in our space by doing a “trial” with the boards.
After installing the top and bottom board, we cut multiple boards to the correct height. We then tested out how many would look best by evenly spacing out a different number of boards, stepping back, and contemplating (we just set them up to the wall- we did not fasten them to the wall on this step).
6. Tip Five: An Alternative to MDF
Call me crunchy, a health-nut, over-dramatic, eco-minded… I HATE MDF board. It’s not very sturdy, it smells bad (in my personal opinion), it doesn’t work in areas where there is exposure to any moisture, and it’s full of VOCs from the urea-formaldehyde adhesives they use in manufacturing. My husband and I avoid MDF like the plague. So what does MDF have to do with board and batten walls?
If this is one of your first ventures out on the infinite internet exploring the idea of building a board and batten wall, you may not have discovered this essential part of the building process yet. Unless you are one of the lucky few people on the planet that have smooth walls, something needs to be done with the texture on your wall before installing board and batten. You will not get the flawless look of this project if you skip this step. In fact, I’ve not even heard of someone installing it without first dealing with the texture of the walls.
The typical way to smooth out the space where your boards run along your wall is to cover the area with MDF board. It’s true- MDF is smooth and paintable, so not a bad option.. if you’re not worried about the characteristics of it like I am. So in my stubbornness, I told my husband we are not using MDF and we are going to have to find another way to de-texture the wall.
Mega disclaimer right here… this is not as easy as MDF, nor is it void of a gigantic mess. BUT… would I go back and not do it this way? No. This would still be my game plan. We used joint compound and quite literally, mudded the wall smooth.
After deciding the height of the board and batten, my husband applied mud with a large puddy knife. He would spread it out, wait for it to dry, lightly sand any ridges, and apply some more. He did this until we got the smoothness we desired.
7. BONUS TIP!!
Listen… you can judge me for being the biggest cheapskate in the world, but this tip is about to blow your caulking game out of the water. I’ve seen links to these tools floating around. It’s meant to be smeared over your bead of caulk to get the perfect, smoothest seal between your boards.
Don’t have this tool on hand or don’t want to spend the money to have yet another niche tool laying around just to get lost in your garage later? Use the corner of a credit card. Boom. You’re welcome. (And if you wipe it off right away, you can keep it clean and use it again for the next project. Just don’t let it dry if it’s a card you’re still using at the moment… just trust me on that one😉.)
Conclusion
I hope this list has been a help and inspiration in your quest to transform your space with a beautiful board and batten wall. Once you’ve made a plan for your design, don’t be afraid to jump in and give this project a try!
And don’t forget… if we can do it, you certainly can too!
-Jeannie and Shawn
