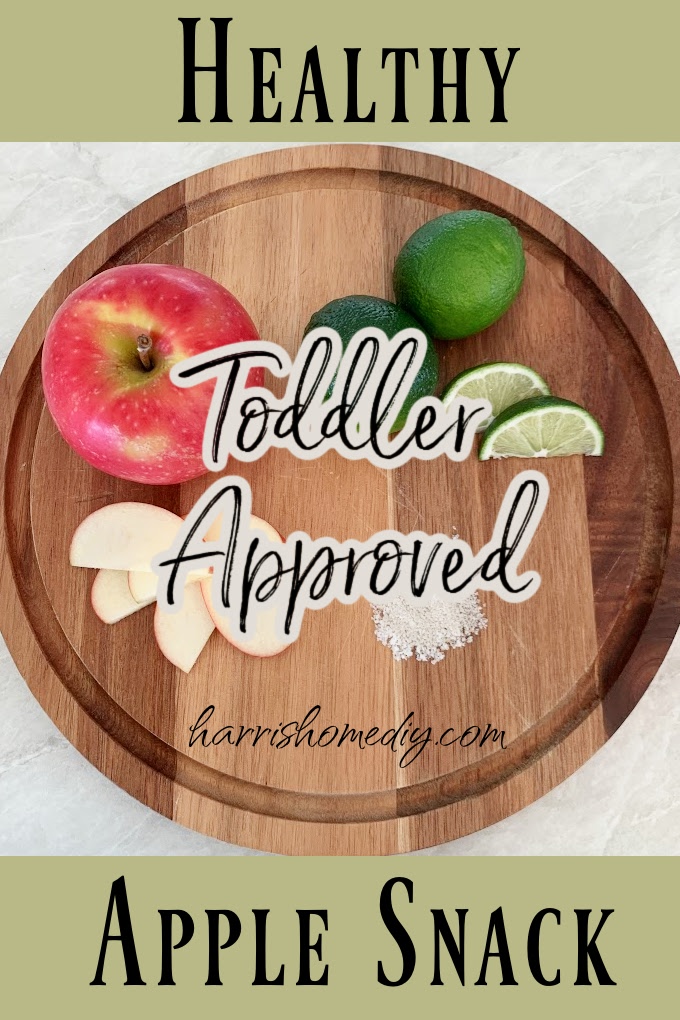
You are guaranteed to fall in love with this healthy apple snack. It’s super easy to make, tastes delicious, and is a toddler favorite. Plus, it’s a great low-mess car snack option (a HUGE win for my fellow parents who are on the road often… you know how granola bars and crackers absolutely disintegrate in the hands of a toddler!)
A quick look at what’s in this blog:
- Recipe back-story
- Ingredients
- Preparation
- 10 reasons we love this snack
1. Recipe Back-Story
It sounds funny but this snack was actually introduced to me by a coworker to try out during pregnancy. We shared about our struggle to eat literally anything (let alone more wholesome, nutricious food) during our pregnancies because of intense nausea and food aversions. She told me this snack got her through 3 grueling pregnancies where she was extremely sick. I was skeptical but gave this apple snack a try… and have been hooked ever since- pregnant or not! The snack was never intended to be tailored towards younger ones, but we quickly found out it’s a huge hit with the toddler in our house!
2. Ingredients
This list looks so simple, but don’t dip out yet… it’s the process of putting these ingredients together that brings out the stunning flavor, texture, and ultimate snacking experience of these apples. All you need is…
- Apples: I’ve done green, orchard fresh, grocery store, etc. I would just recommend they are a crunchy variation. It’s all about the crunch!
- Salt: Table salt, sea salt… whatever you have works great!
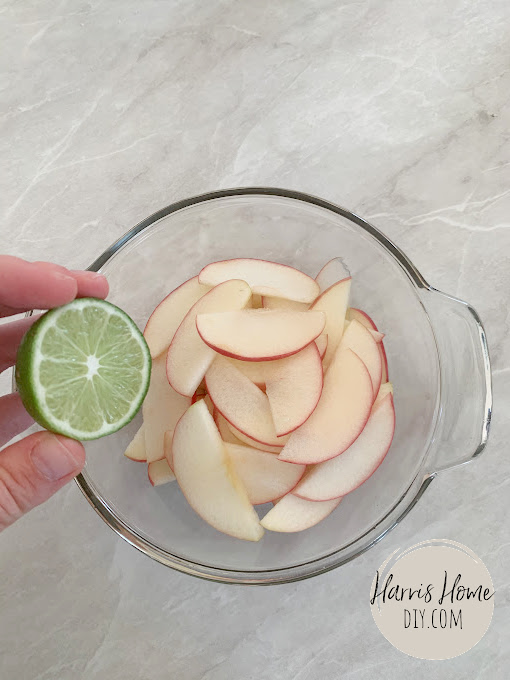
- Limes: You can use fresh limes or bottled lime juice if you have that on hand. You can definitely use lemons/lemon juice instead, but it’s doesn’t give quite the same pop of flavor.
- Optional… chili powder/cayenne pepper: This is for the those who want to “level up” this snack. I personally like them best without the added spice, but it’s delicious both ways!
3. Preparation
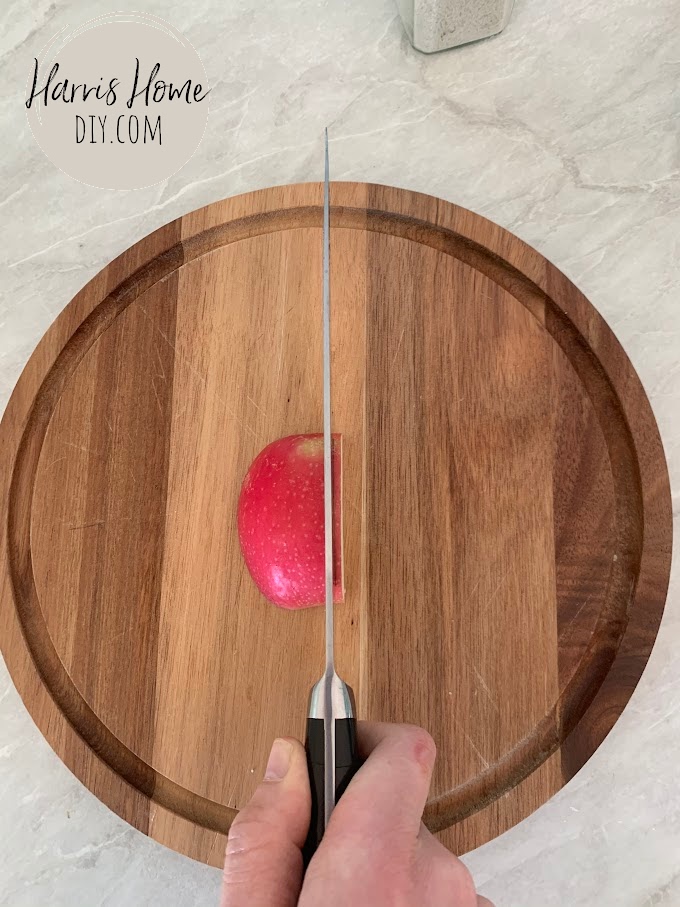
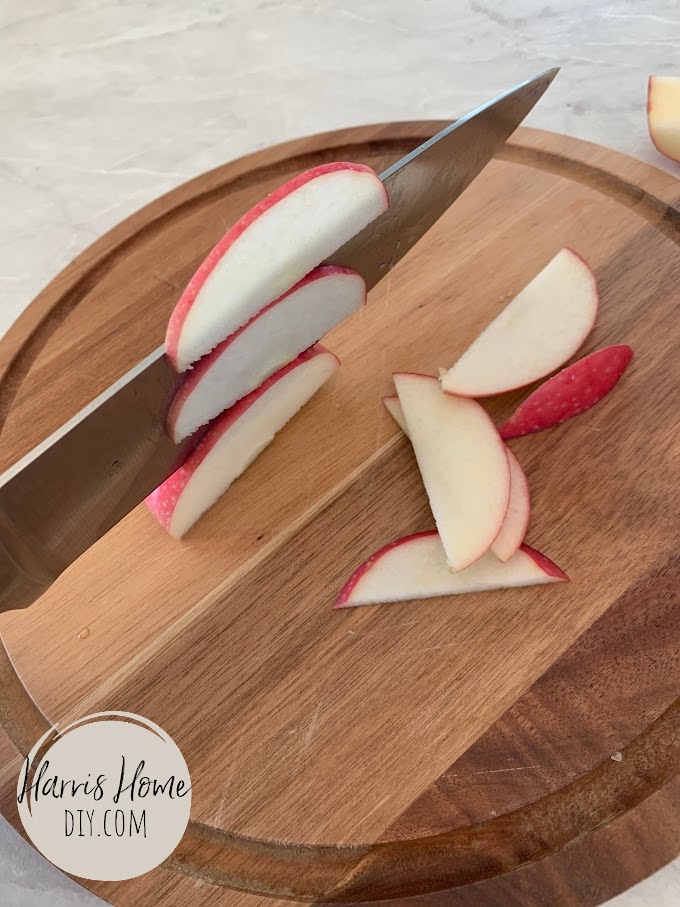
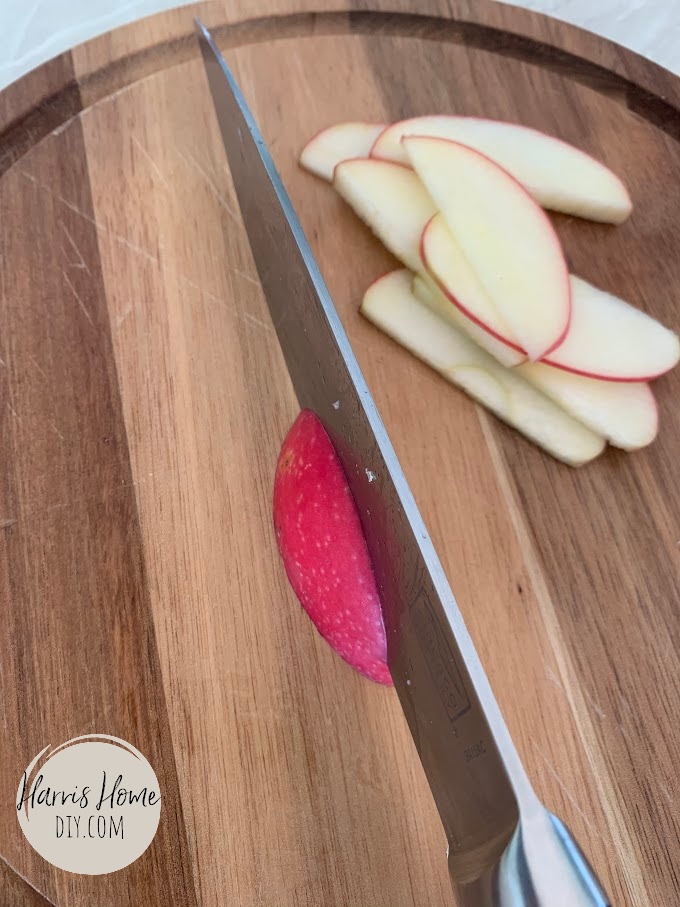
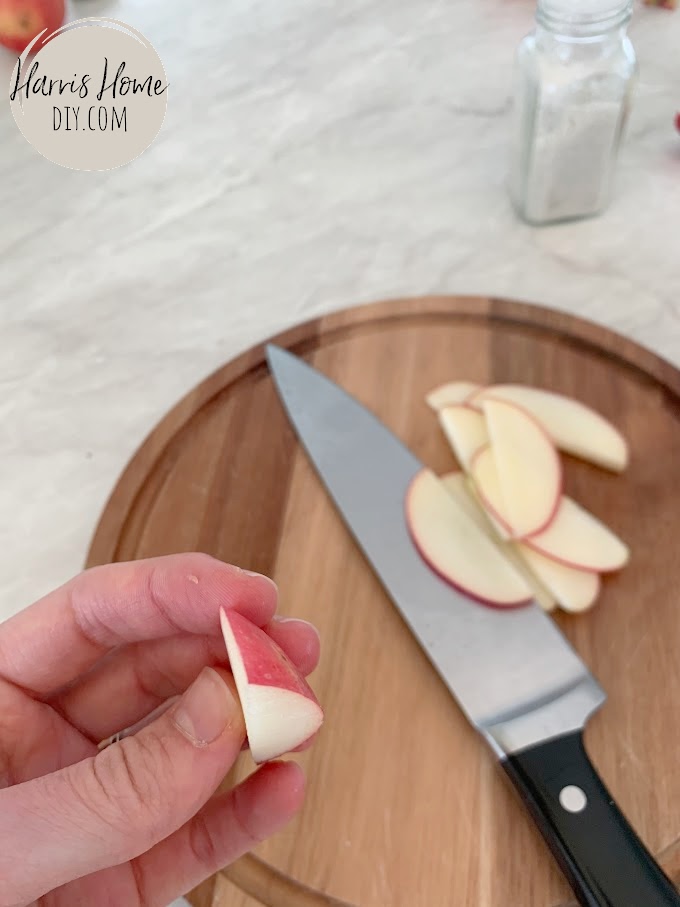
This is where the magic happens. It’s all in the perfection of the slice thickness. I begin cutting the apple by “chunking” it. See the progression of the pictures below:
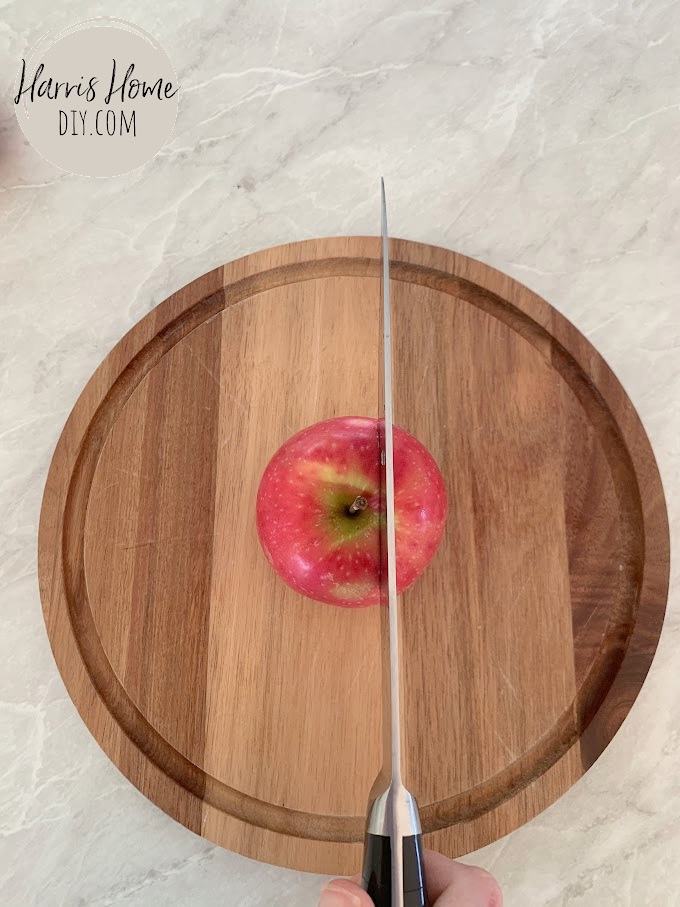
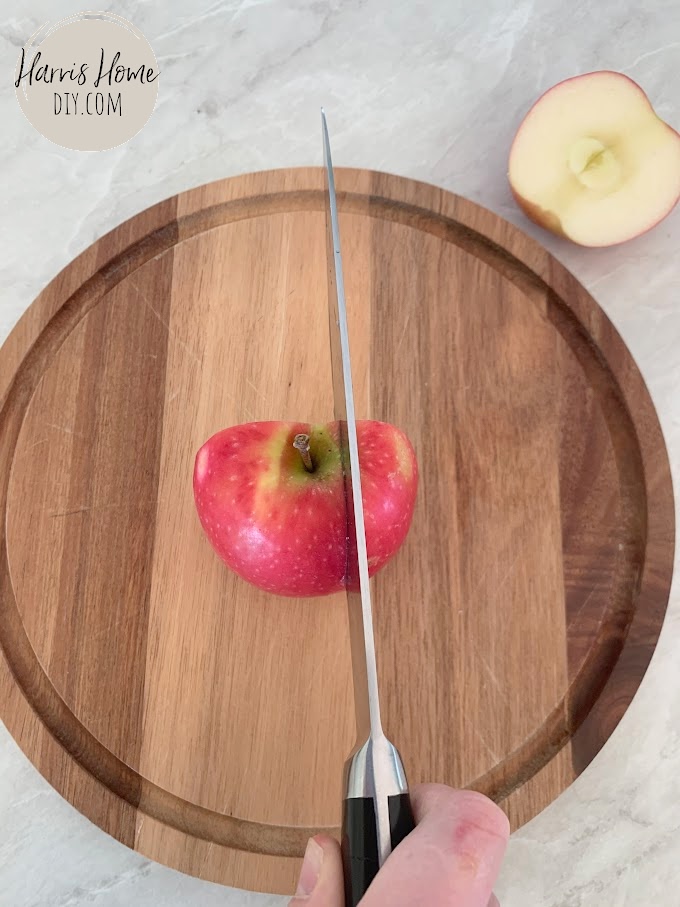
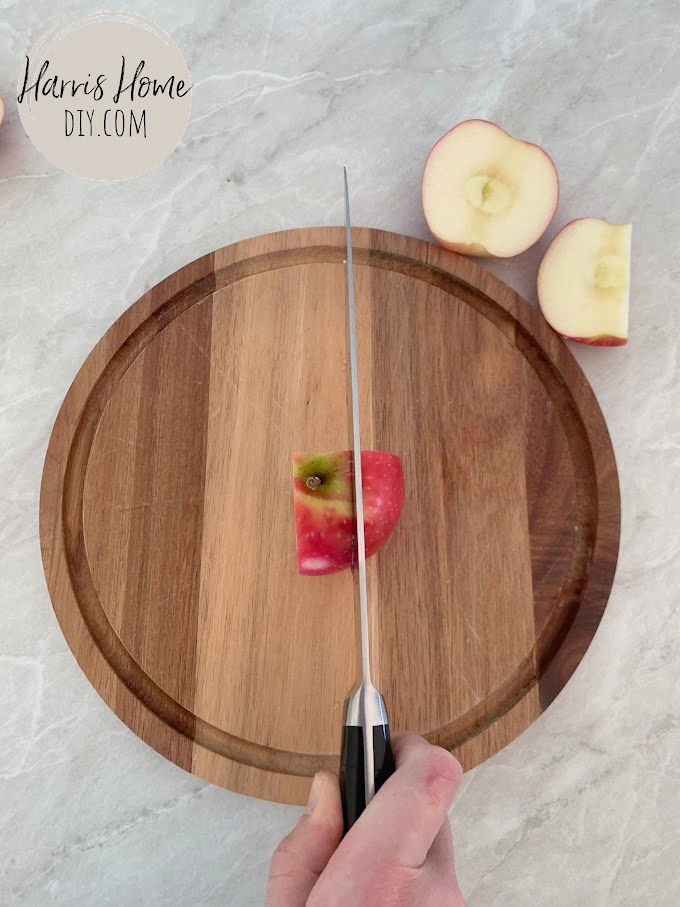
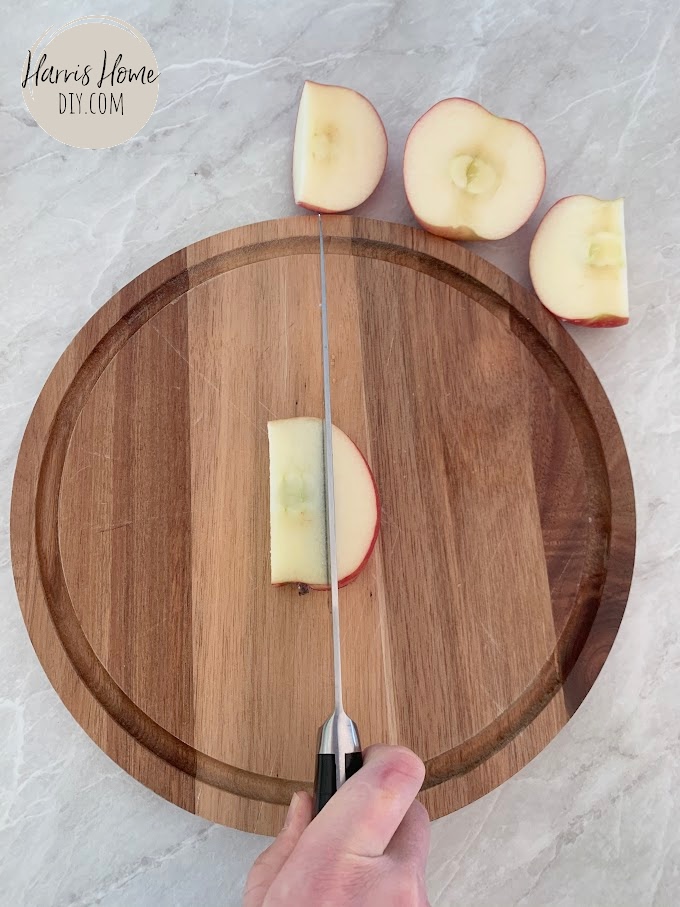
After that, I trim the apple into “slivers.” This is where the magic happens. The key is to cut them thin, but not too thin. A few attempts at this step and I have no doubt you’ll quickly land on the perfect thickness. Just know it may take a few tries. To accomplish this, I lay the apple chunks on their “bellies,” flesh side down (skin side facing up).
Once you’ve sliced your apples, cut your limes in half and gently move the apples around while you squeeze the lime juice over them. This helps to distribute the lime juice evenly.
Once you have the desired amount of lime juice (we like to DOUSE ours), sprinkle on the salt. You can mix around the apple slices to distribute the salt carefully as well.
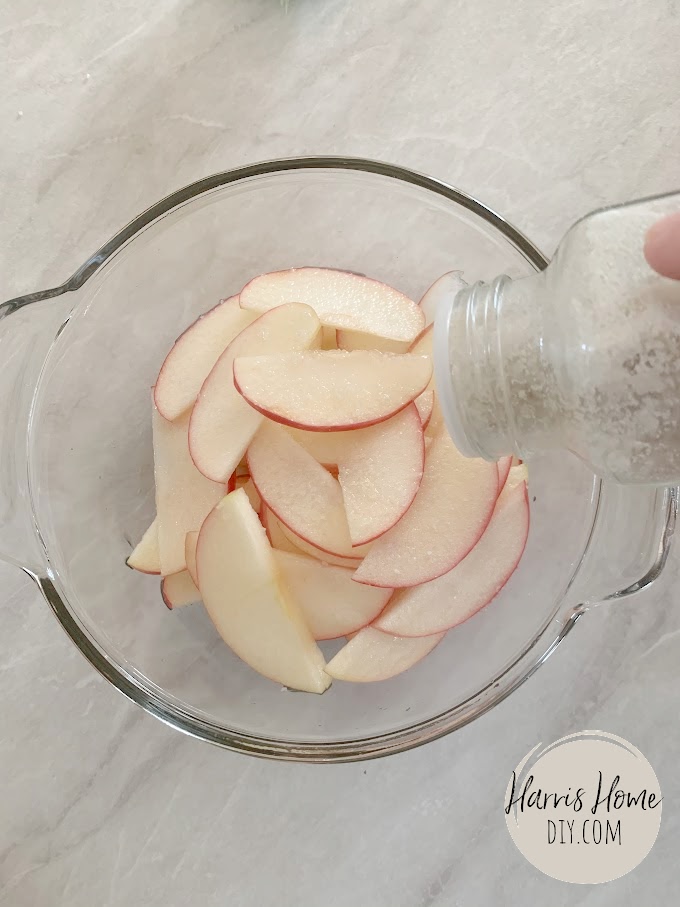
If you’ve chosen the chili/cayenne pepper route, you would sprinkle this on last.
And wa-la! I invite you to try out various slice thicknesses and different amounts of lime juice/salt until you find the combination that hits the spot.
4. Why We Love This Snack So Much
If your mouth isn’t watering yet, maybe one of these ten reasons will convince you to try out this recipe. 10 reasons we LOVE this snack:
- Toddlers love it (and isn’t the ultimate struggle getting them to eat more than just chicken nuggets dipped in copious amounts of ketchup?)
- Low mess level.. unlike dry cracker snacks!
- Easy for on the go- just stick them in a baggie or sandwich container
- Quick to make
- Ultimate flavor combination of sweet, a little bit sour, and salty
- Apples have different types of sugar in them that help to give you long-lasting energy
- Salt is GOOD FOR US! The sprinkle of salt on these adds amazing flavor, but also the benefits of electrolytes that our bodies crave and need to function optimally
- Limes are high in vitamin C (do I sound like your doctor yet?)
- These are a no-guilt snack. You don’t have to feel bad about eating the whole bowl to yourself!
- Most importantly (in my opinion), these are so fun to eat. Between the crunch and salty flavor, this snack gives you an experience similar to eating potato chips. Are they potato chips? No. But do I feel better after eating these vs. potato chips and they are just as fun to snack on? YES!
In Conclusion…
I really hope you’ll give this amazing apple snack a try. You might just find yourself addicted and making this weekly (sometimes daily) like our family does. Have fun… and happy parenting those littles!
-Jeannie